Interface & Menu
A tour of the Xopoz screen: the top toolbar, the four bottom tabs, every entry of the side menu, the Event Viewer and the Support screens.
Toolbar and Bottom Tabs
The toolbar at the top and the tab bar at the bottom are visible on every main screen.
Toolbar
- Menu (three lines, left) — opens the side menu described below.
- Events (bell) — opens the Event Viewer with SOS alerts, GeoFencing notifications and other messages received from your teams.
- Close App (power symbol, right) — stops Xopoz completely, including background GPS recording. The phone confirms with a short-short-long vibration. Use it when you do not want your position to be recorded.
Bottom Tabs
| Tab | Content |
|---|---|
| Map | Your position, your team, trails, tracks and POIs. See Map. |
| Teams | Your teams and their devices; create, join, invite. See Teams. |
| Points | Private and shared Points of Interest. See Points of Interest. |
| Settings | Profile, device, location, maps, privacy and system checks. See Settings. |
The Side Menu
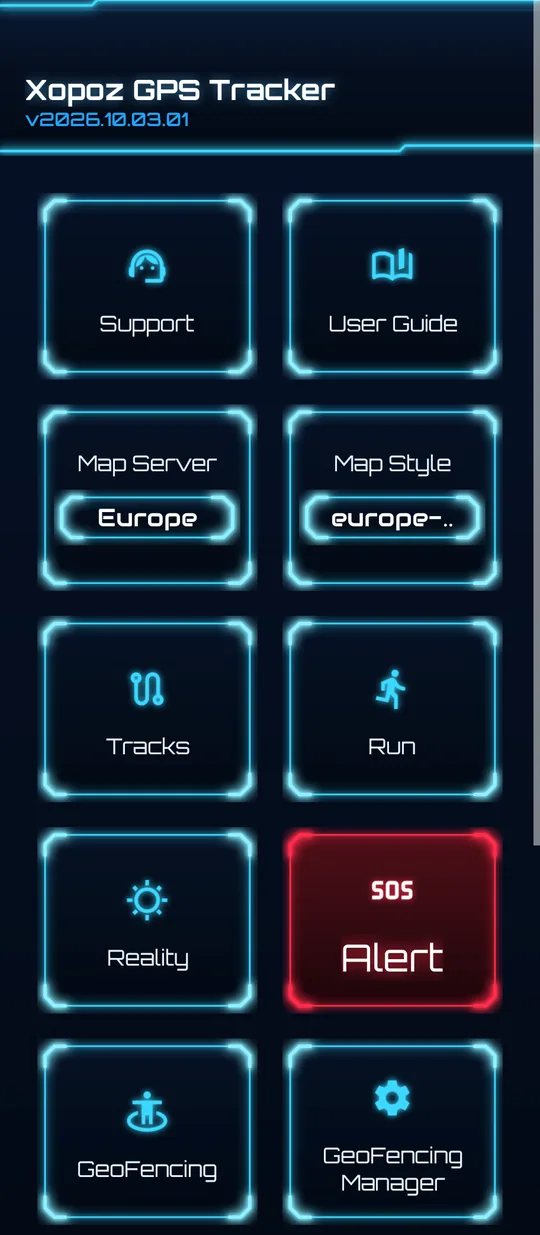
Tap the Menu button to slide the menu in from the left. Its header shows the app name and the installed version. The entries are tiles; scroll down to see them all.
| Entry | Type | What it does |
|---|---|---|
| Support | Action | Create a support ticket or read your existing tickets. |
| User Guide | Action | Opens the Xopoz website with this guide in your browser. |
| Map Server | List | Chooses the tile server that draws the map. |
| Map Style | List | Chooses one of the styles offered by the selected server. |
| Tracks | Action | Opens the Track Manager. |
| Run / Stop | Action | Starts or stops a timed Run session. |
| Reality | Slider | Adjusts the blue tint over the map. |
| Alert (red SOS tile) | Action | Opens the Emergency Alert screen. |
| GeoFencing | Action | Creates a monitoring rule for team devices around your POIs. |
| GeoFencing Manager | Action | Lists the rules you created and the devices that monitor you. |
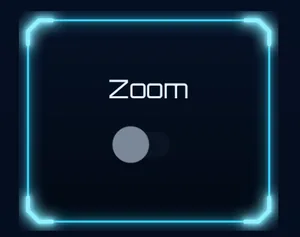
| Zoom | Switch | Shows or hides the + / − zoom buttons on the map. |
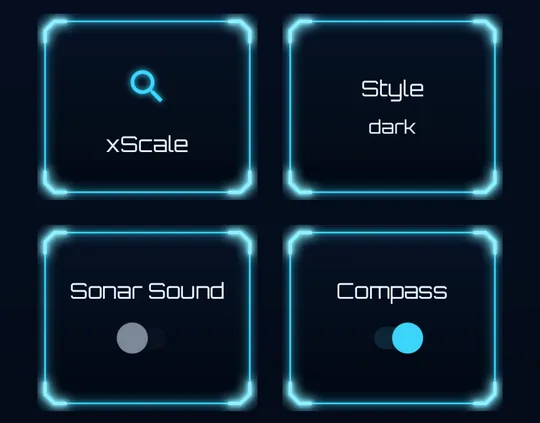
| xScale | Slider | Changes the size of the map tiles (more or less detail). |
| Style | Toggle | Switches the app between the dark and light theme. |
| Sonar Sound | Switch | Plays a sound each time a GPS point is recorded. |
| Compass | Switch | Enables the compass and heading line on the map. |
Each entry is described in detail below.
Support
Tapping Support offers two choices:
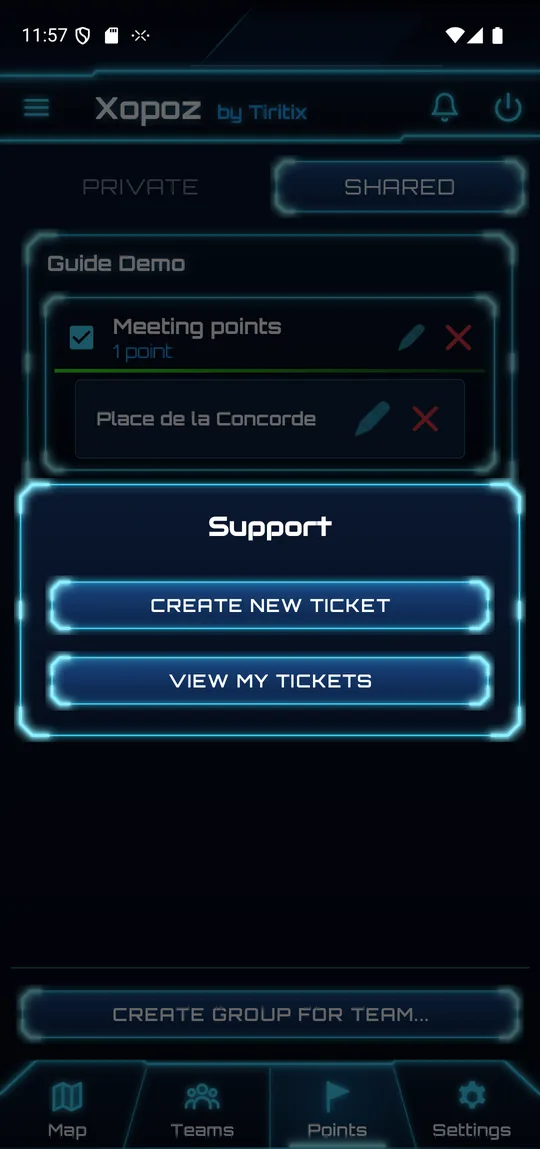
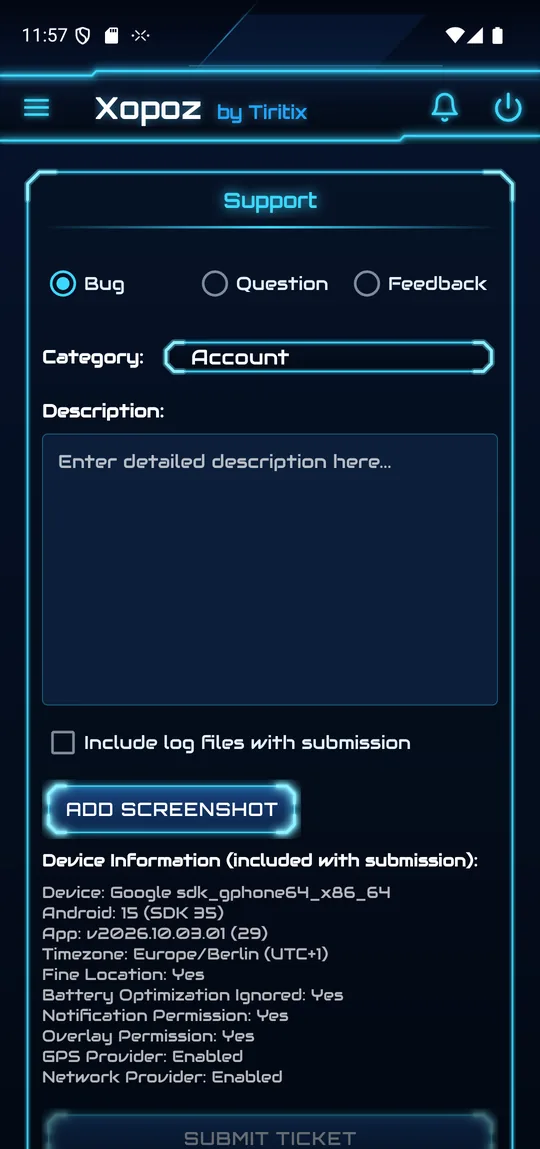
Create New Ticket
- Choose the ticket type: Bug, Question or Feedback.
- Pick a Category (for example Account).
- Describe the problem in the Description box — what you did, what you expected and what happened.
- Keep Include log files with submission ticked so the support team can analyse the issue. Logs never contain your precise GPS position.
- Optionally tap Add Screenshot to attach images.
- Check the Device Information that is sent with the ticket (phone model, Android version, app version, time zone and permission states), then tap Submit Ticket.
View My Tickets
Lists your tickets and the replies from the support team. Pull down to refresh. For escalation you can always write to xopoz@tiritix.com.
User Guide
Opens tiritix.com/xopoz in your browser, where you find this guide, the FAQ and the specifications.
Map Server and Map Style
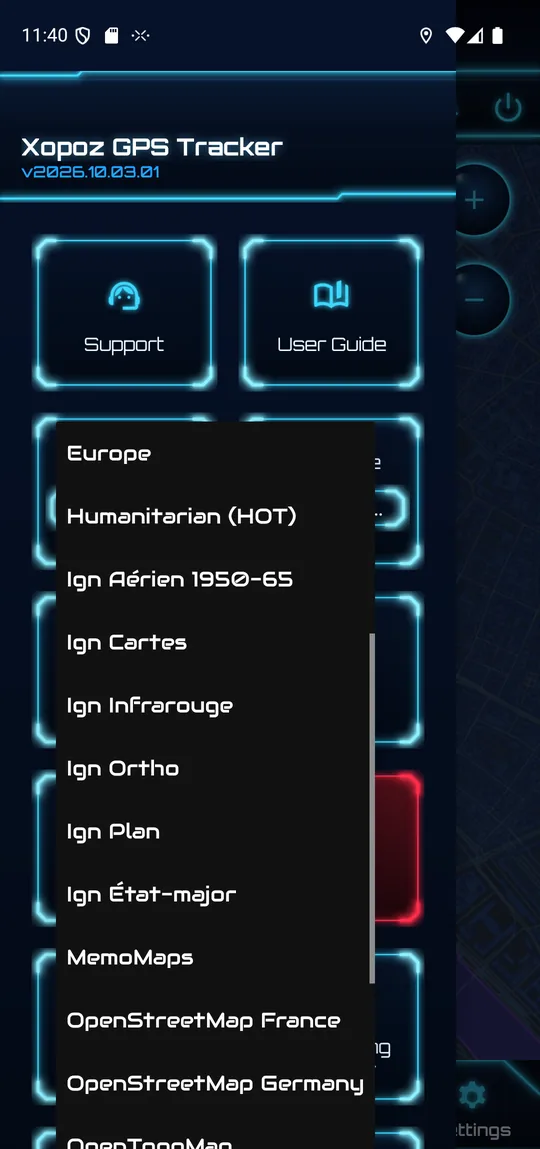
The two list tiles change the map without leaving the menu:
- Map Server — the tile source. Built-in choices include Europe (the Xopoz server), Humanitarian (HOT), several French IGN layers (aerial photos from 1950–65, maps, infrared, ortho-photos, plan, historical État-major maps), MemoMaps, OpenStreetMap France / Germany and OpenTopoMap.
- Map Style — the styles available on the chosen server, for example europe-basic.
Servers you add in Settings → Map Settings appear in the same list.
Tracks and Run
Tracks opens the Track Manager to import GPX files, organise them in groups and show them on the map.
Run starts a timed session and shows the Run panel on the map (elapsed time, distance, average speed). While a session is active the tile reads Stop; tap it to end the run, which is then saved in the my Runs track group. See Map → Run Session.
Reality and xScale
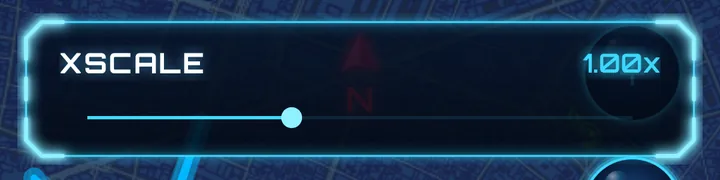
Both open a slider panel at the top of the map so you can watch the effect live. Close it with the Back key or by tapping outside the panel. Your choice is remembered.
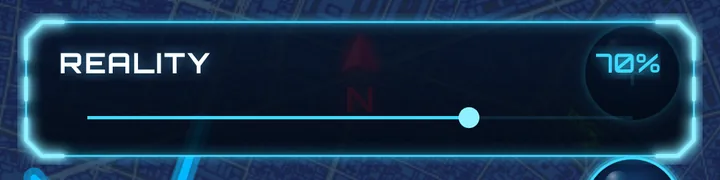
- Reality — Xopoz draws a blue tint over the map so that the neon markers and trails stand out. At 100 % you see the original map colours; lower values cover the map with more blue. The default is 60 %.
- xScale — changes the size of the map tiles. 1.00x is neutral. Lower values show smaller tiles with more detail (smaller text); higher values enlarge the tiles for easier reading with less detail.
Alert (SOS)
The red Alert tile opens the Emergency Alert screen to send an encrypted SOS with your position to your team. You must be a member of at least one team. Read Emergency SOS before using it.
GeoFencing and GeoFencing Manager
GeoFencing opens the screen where you choose which team devices to monitor, around which POIs, and whether to be notified on entry, exit or both. GeoFencing Manager lists the rules you created (Requests) and the people who monitor you (Monitor). See GeoFencing.
Zoom, Style, Sonar Sound and Compass
- Zoom — turn on to show the + and − buttons on the right side of the map. Off by default, because pinch-to-zoom and the volume keys already zoom the map.
- Style — the small text shows the current theme (dark or light). Tap the tile to switch theme.
- Sonar Sound — plays a short sound each time a GPS point is recorded, so you can hear that tracking is working. The sound itself is chosen in Settings → Location Settings; both places control the same setting.
- Compass — enables the compass overlay and heading line on the map (on phones with a rotation sensor).
A short message confirms each change, for example “Map zoom buttons enabled”.
Event Viewer
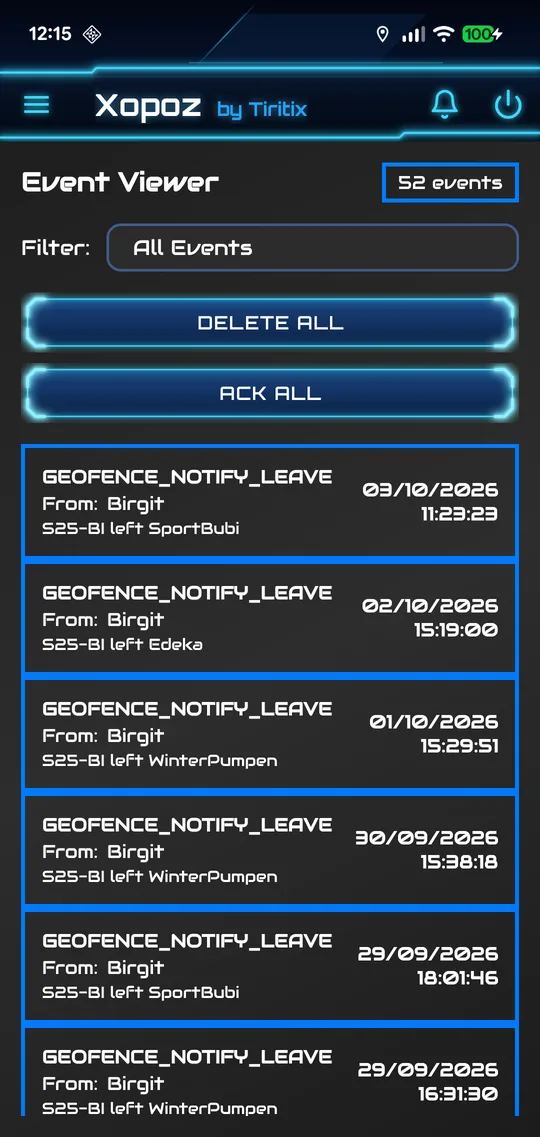
The bell in the toolbar opens the Event Viewer: the history of everything your teams sent you, newest first. Each row shows the event type, the sending device, the details and the time. Events you have not acknowledged yet are highlighted in dark red.
- Filter — show All Events or one type only:
EMERGENCY_ALERT,RING,CHAT, GeoFencing requests (GEOFENCE_REQUEST_CREATE / DELETE / UPDATE) and GeoFencing notifications (GEOFENCE_NOTIFY_ENTER / LEAVE / ERROR / DENY). - Ack All — marks every event as seen.
- Delete All — empties the history.
The counter at the top right shows how many events are listed.